Full day rate: $10.00
Total including 5% insurance & 10% GST : $11.55
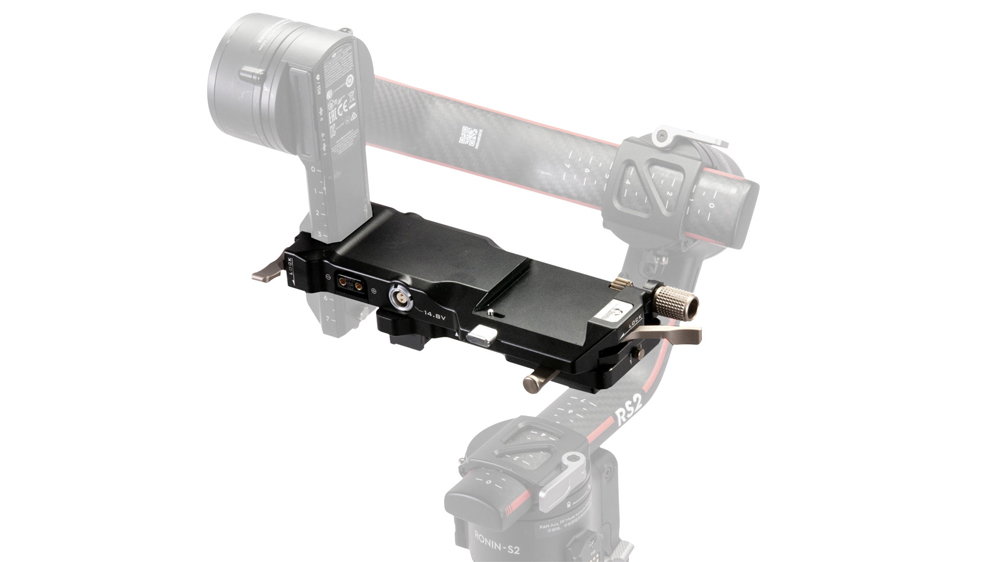
NOTE: This is partially compatible with the RS3 and RS3 Pro, however, range of motion will be limited when tilting down.
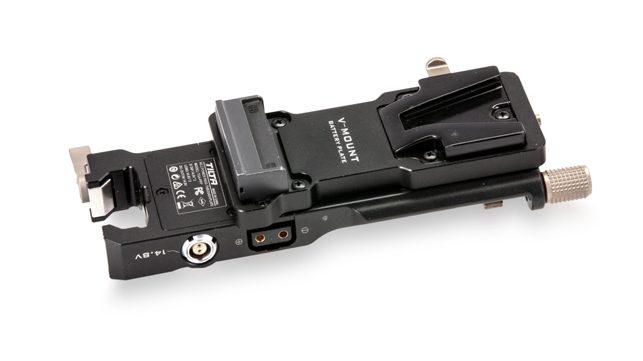
This Battery Plate Power Pass-through Kit replaces the original sled of the DJI RS2, RS3** & RS3 Pro** and offers increased power options for your camera and accessories.
Simply remove the original Ronin Plate by unlocking the height adjustment lever and sliding the plate completely off. The Power Pass-through Plate then slides on and locks in the exact same fashion.
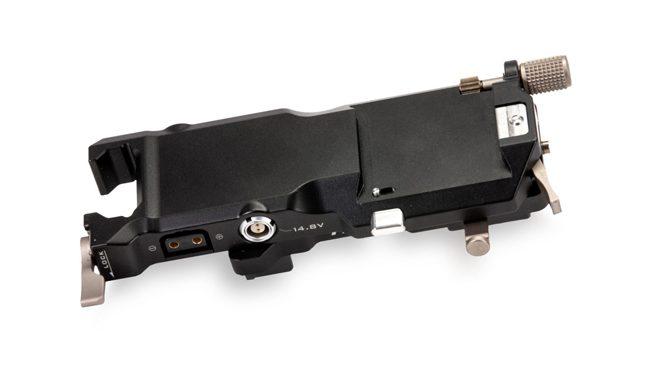
The Power Pass-through Plate features multiple 2 Pin Lemo and P-Tap power output ports making this plate the perfect solution for powering your camera or accessories like wireless follow focus motors while using your gimbal.
The 2 Pin Lemo port can function as a power input, allowing you to power the plate via an external source with an optional 2 Pin to P-Tap power cable.
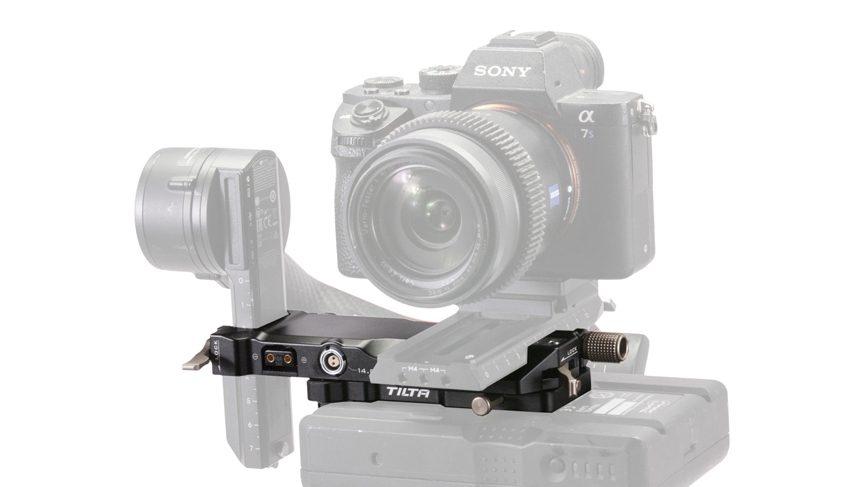
The Gold or V-Mount Battery Plate allows you to mount batteries underneath the plate which gives you the ability to power your camera and accessories via higher capacity batteries without adding extra length to your camera setup.
This makes your camera system easier to balance on the gimbal and leads to better gimbal performance overall via a more optimized center of gravity.
The ability to mount an additional battery makes this a perfect fit for the Hydra Alien when using lighter camera systems that need additional weight to get the best performance out of the shock absorbing arm.
This is also a perfect solution for adding power outputs to the Float System.
This Kit includes both the Power Pass-through Plate and a Gold or V-Mount Battery Plate with the option of swapping the battery plate for a 2 Pin to P-Tap power cable.
For a trouble free experience please follow these steps.
Step 1:Explore the options then add your gear to the Camera Bag. If what you’re after is not listed please add it in comments or simply Contact Us.
Step 2:View your Camera Bag & select the date & duration of the hire including the desired collection time.
Step 3:Once you're done review your Camera Bag & add any special requirements in the Message field. Urban Cine will follow up with questions &/or answer your questions.
Step 4:Submit to request a quote. You'll receive a copy. Urban Cine will send you a formal quote if required.
Step 5:Pick Up & Return: Typically after 2:00pm the day before the hire, & by 11:00am the day after the hire. Picking up the day before gives you the opportunity to familiarise yourself with the equipment & check that everything is in order before your shoot the next day.
Step 6:Payment: For new customers payment is required prior or on collection. If you have a history with Urban Cine a credit account may be offered.
Step 7:Insurance & ID: To ensure insurance for hired equipment is valid Urban Cine Pty. Ltd. asks you to verify your identity. By doing so you are supplying the required 100 points of ID. This will protect both you the Hirer & Urban Cine Pty. Ltd. You will receive a text message. Just follow the prompts. For more info see OCR Labs IDKit
Step 8:Using Equipment: It’s fair & reasonable to expect the hirer has the skillset to use equipment in a respectful & professional manner.
Step 9:Report Issues: Please report equipment failures & breakages. Feedback is important. If you’re experiencing issues with equipment on set please call us asap. Often issues can be rectified over the phone.